Here is another decorated bottle to add to my collection. This sample is using a new stamp from Beecrafty. Love this Nutcracker inspired stamp set.


Here is another decorated bottle to add to my collection. This sample is using a new stamp from Beecrafty. Love this Nutcracker inspired stamp set.
Here are some of my samples for last weeks Misfits 2 stamps and dies which were on the Craft Store last week. They are great love these and they go so well with Misfits 1.


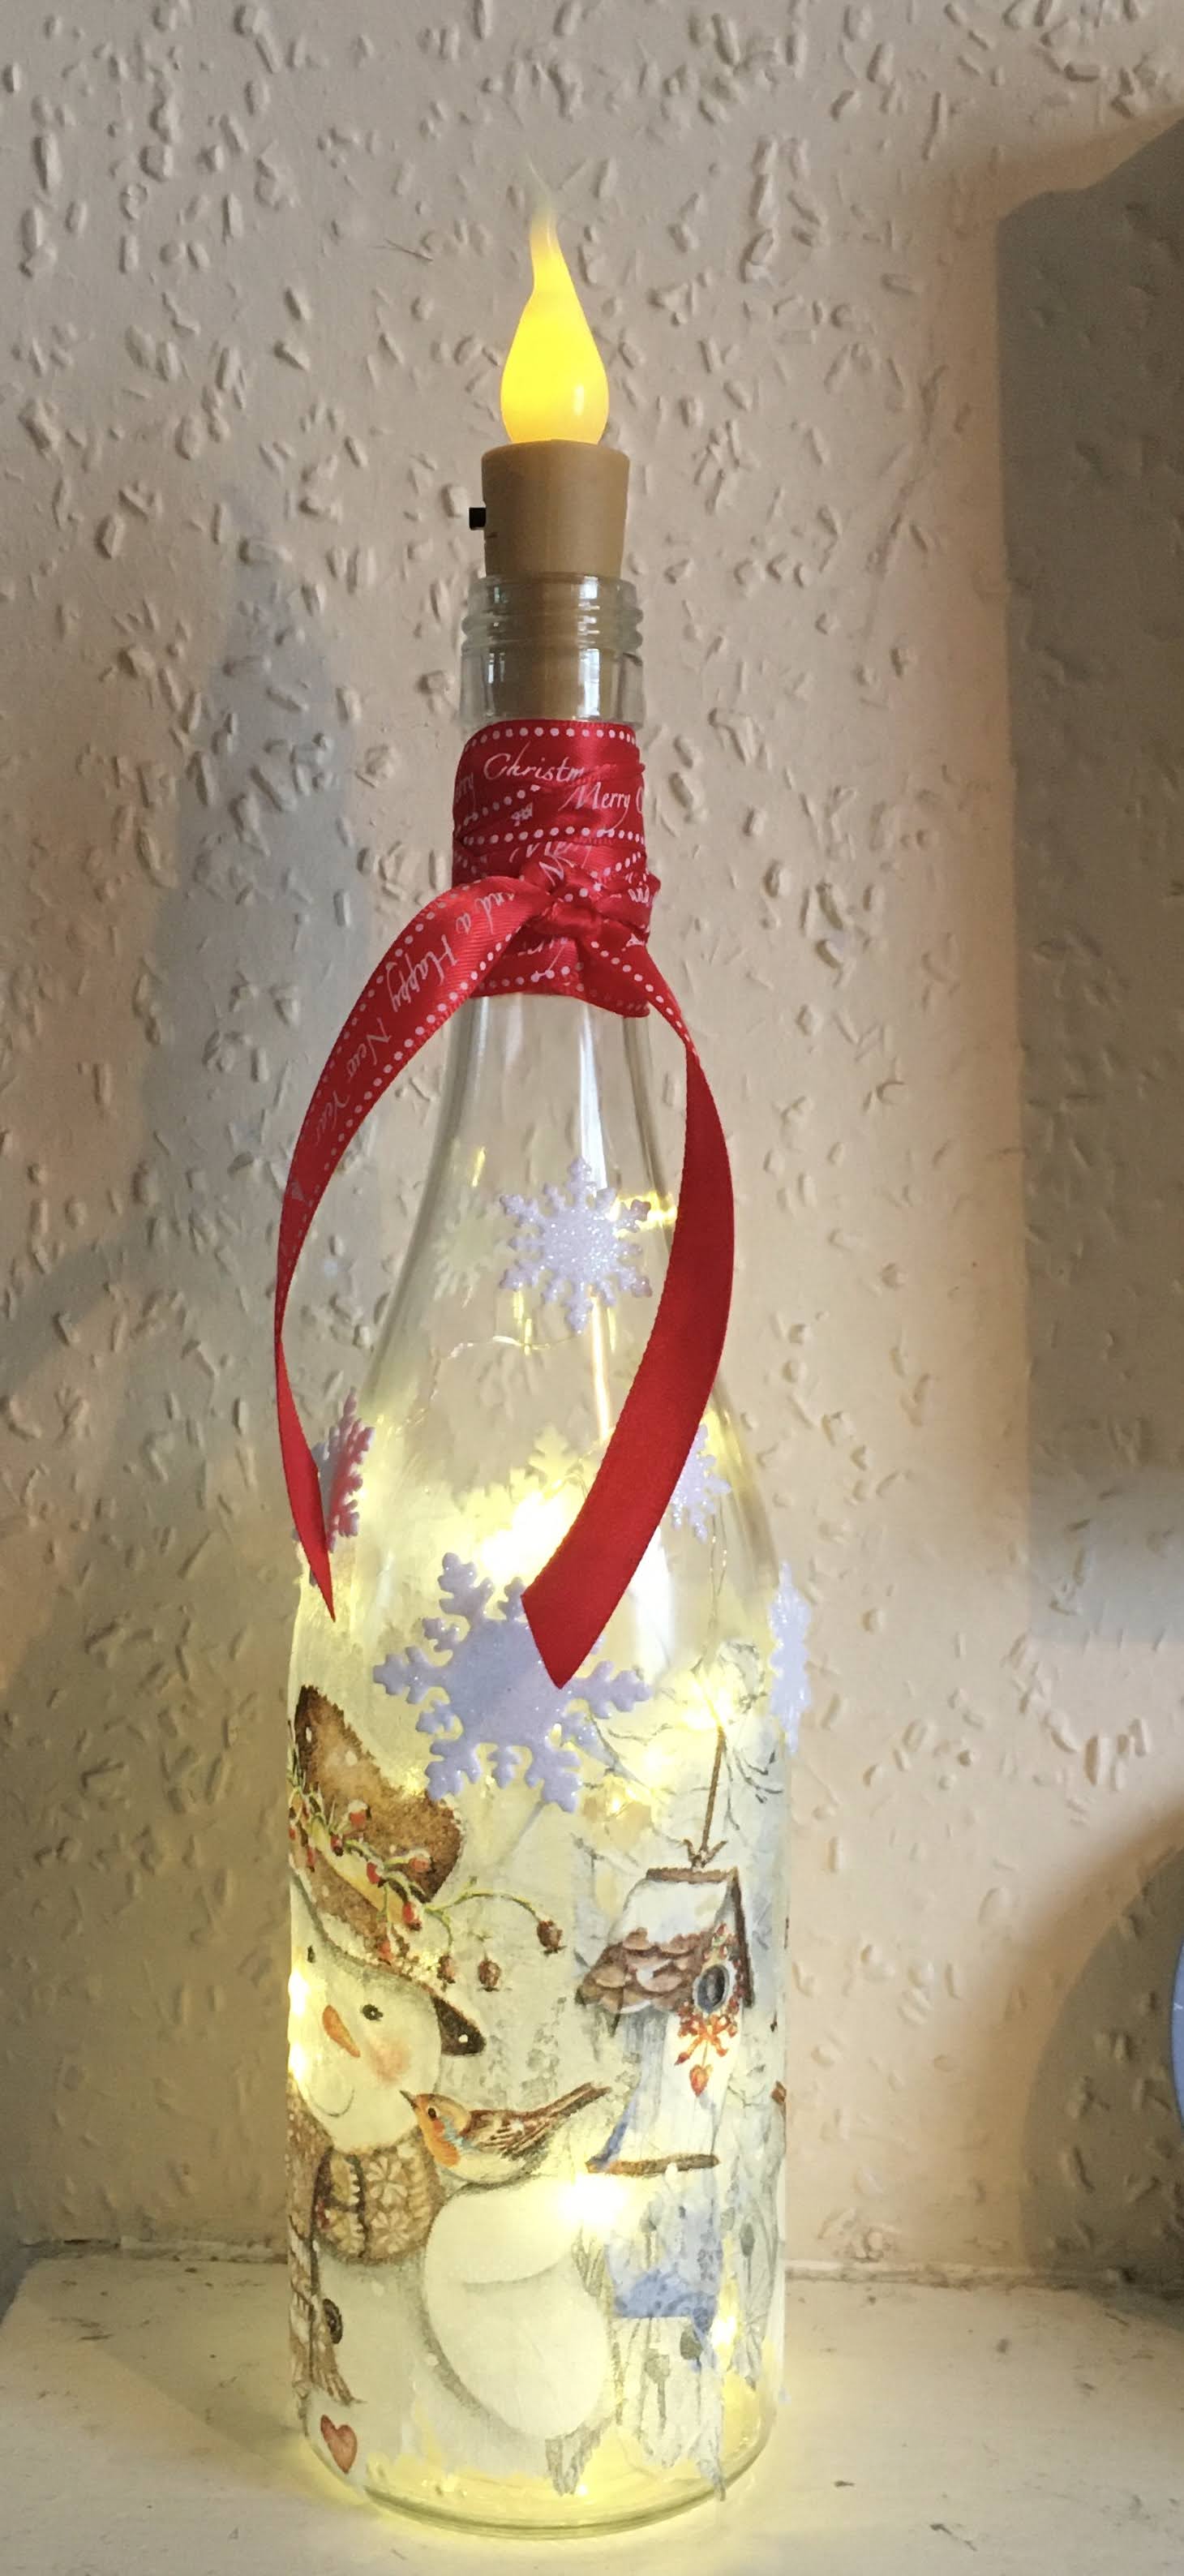
I love decorating wine bottles, I also enjoy emptying them. Here are three of recent makes. One done by stamping on plain craft rice paper and coloured with alcohol markers. The other two are done with serviettes.


This is the Drawing gum I first came across this when water colour painting and used it to block out area and then add colours so it is very much the same principle.
Firstly I stamped the stag in black Versafine ink and left to dry completely. I then took the gum and using a fine paint brush painted over the image. You will see that the image looks slightly blue. This needs to dry completely.

Next stage to add a wash to give the coloured background. Painting over the stamped image.

Again leave this to dry completely and then rub off the gum carefully with your ring finger(this is your gentlest finger). This reveals the white back ground.

I do hope this is helpful.
Here is a different way to use the Wreath making stencils from John Next Door. For this one I used the smaller size, I put a piece of Dolly Dimples media card behind the outer stencil and blended Distressed Oxides from the outside of the stencil in. See below.


Hi today I thought I would add some of my samples which appeared on the Cleverprints Misfits part one. Having recently joined cleverprints design team I am thrilled to be using such versatile stamps, dies and stencils.


Love this die set from JND designed by Maxine Payne. It is so clever, lies flat and fits in a 5” x 7” envelope and just a little fold on opening and out it pops. Great for all seasons and occasions.


The dies will also make shaped gift boxes I will show some of those later. I have also made the die into a bottle over and cards.
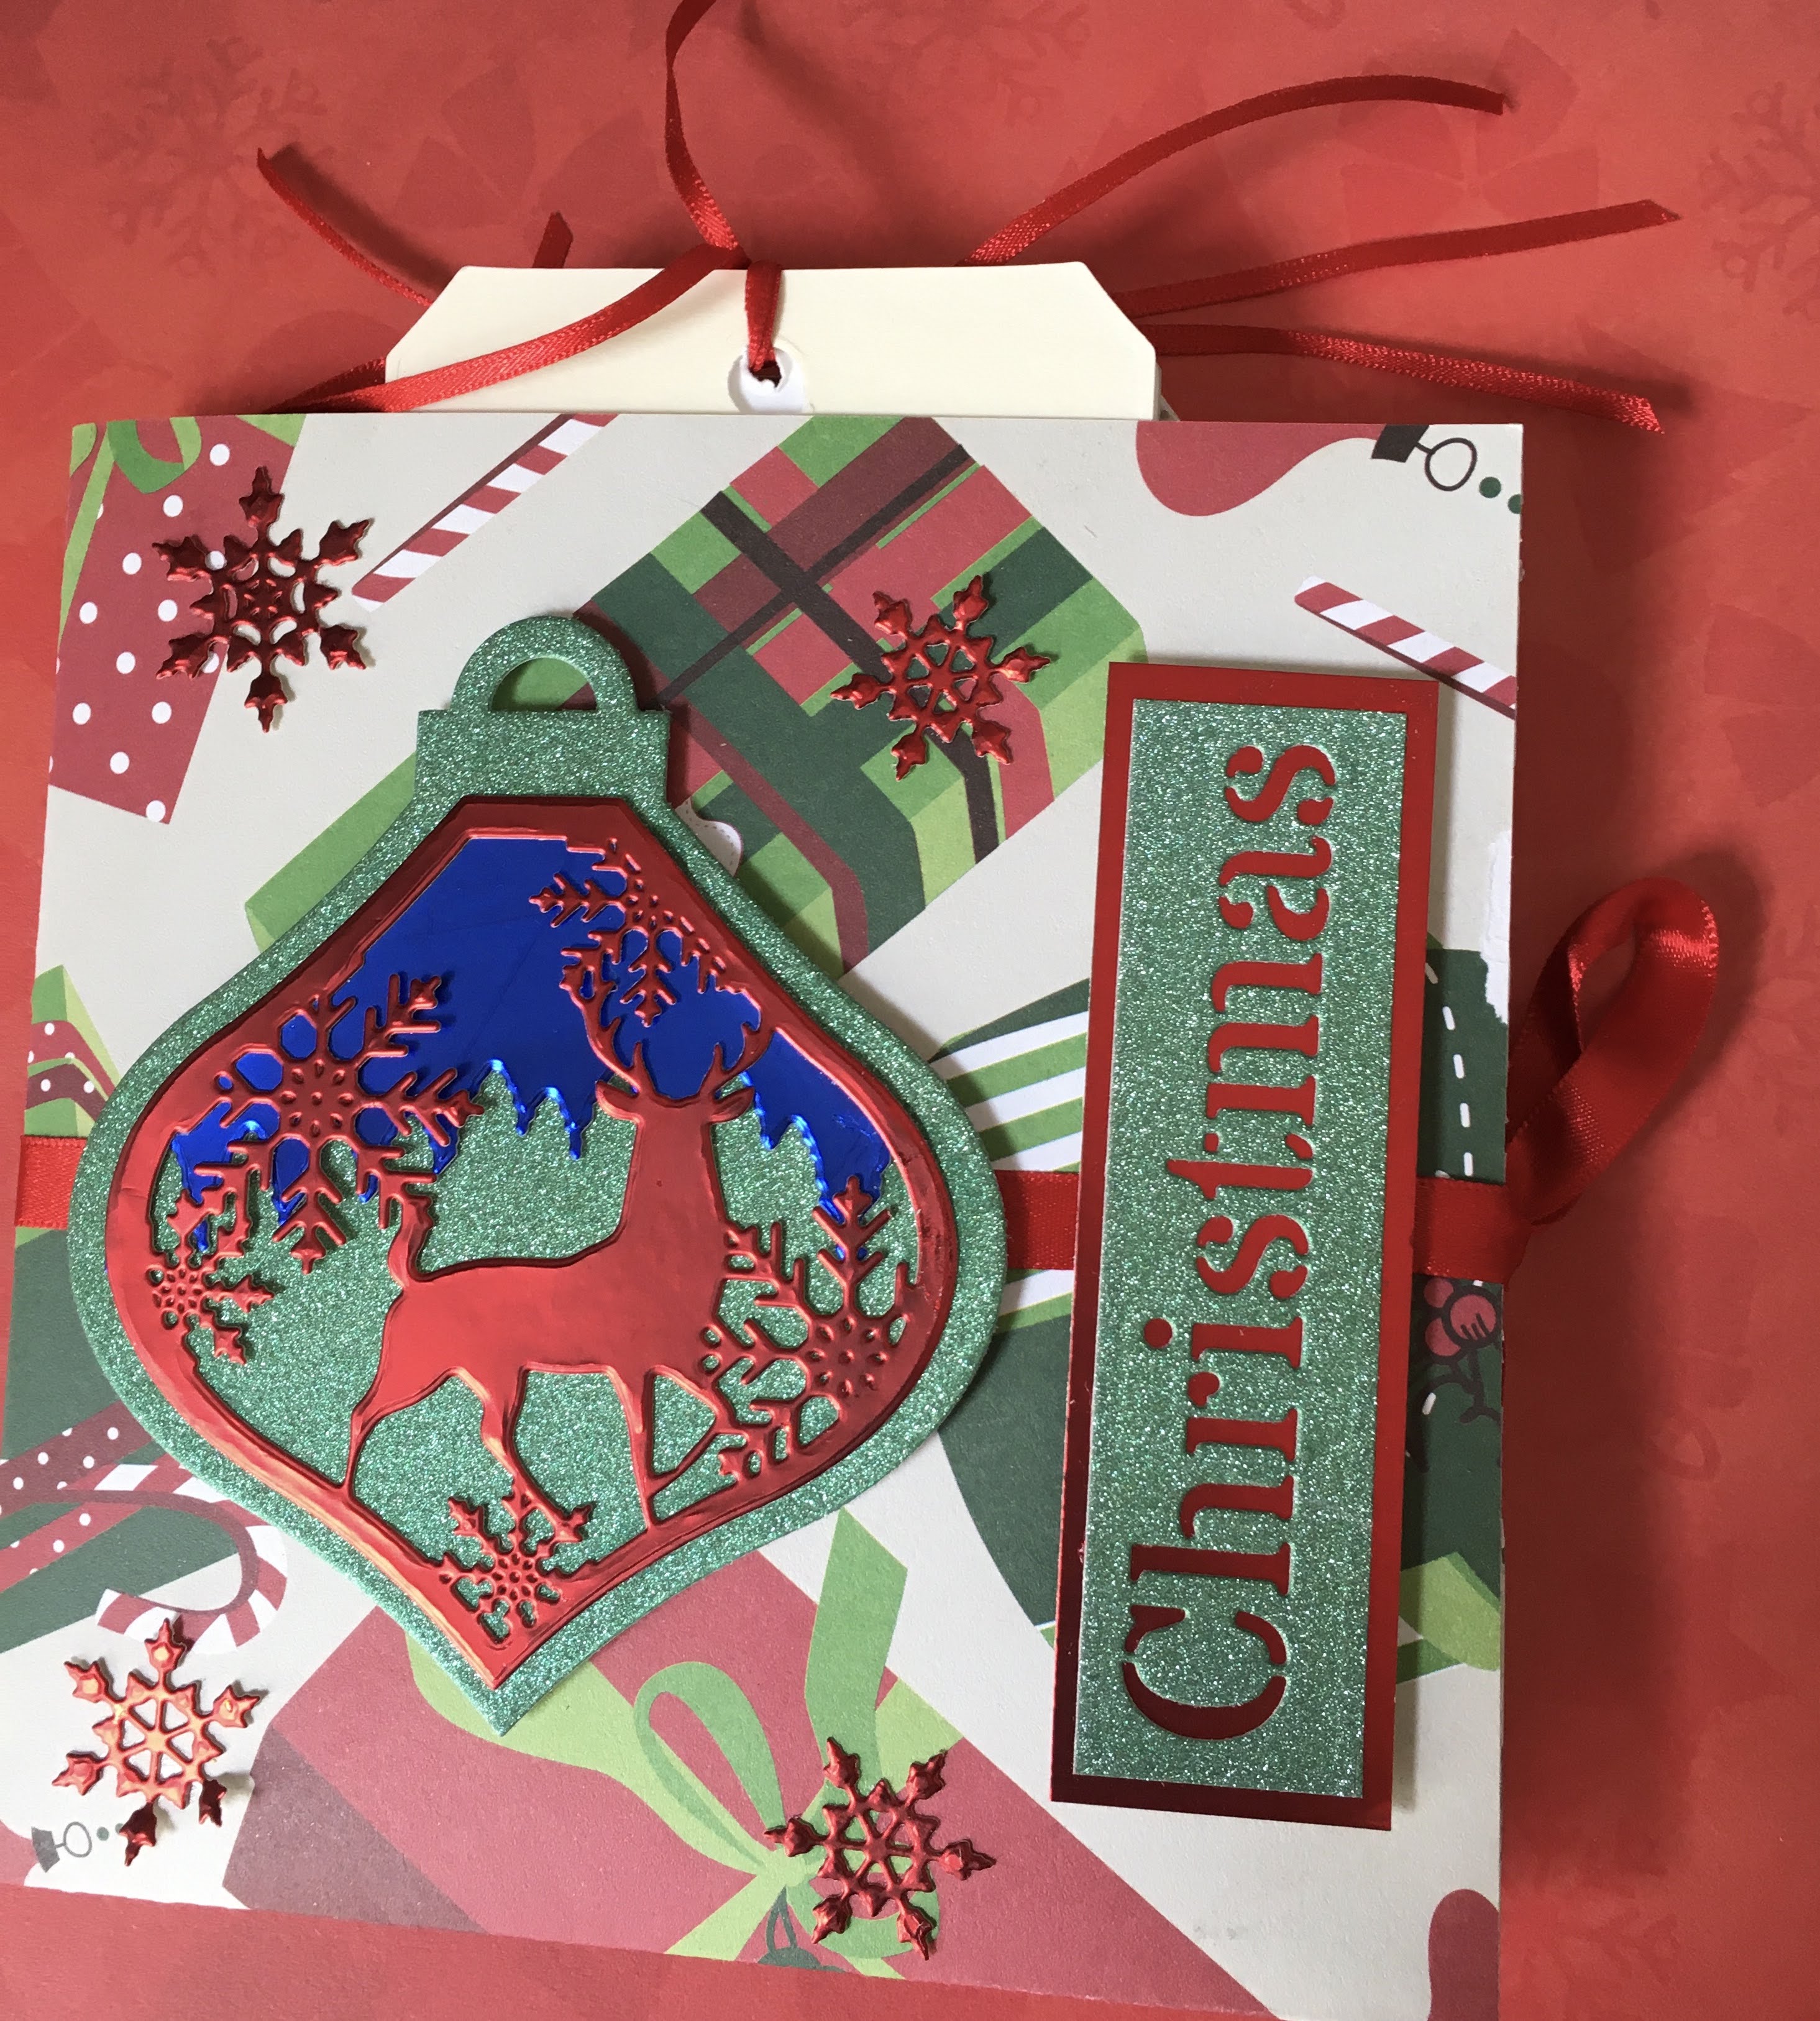
My next take on Christmas is a Tag card, made from a piece of scrapbook paper folded in half and half again. This will make the card. I then die cut the tags in mountboard, I used a bigz die from way back but any tag die you have will be fine and you can cut in card, and if you want it to be stronger just add several layers of card. I have decorated with one of John Lockwood’s new dies - Linda’s die. Glitter card and waterfall card various left over bits I have placed the bauble just off centre so they are slightly off the tag and then cut the spare part off.
Enjoy playing!


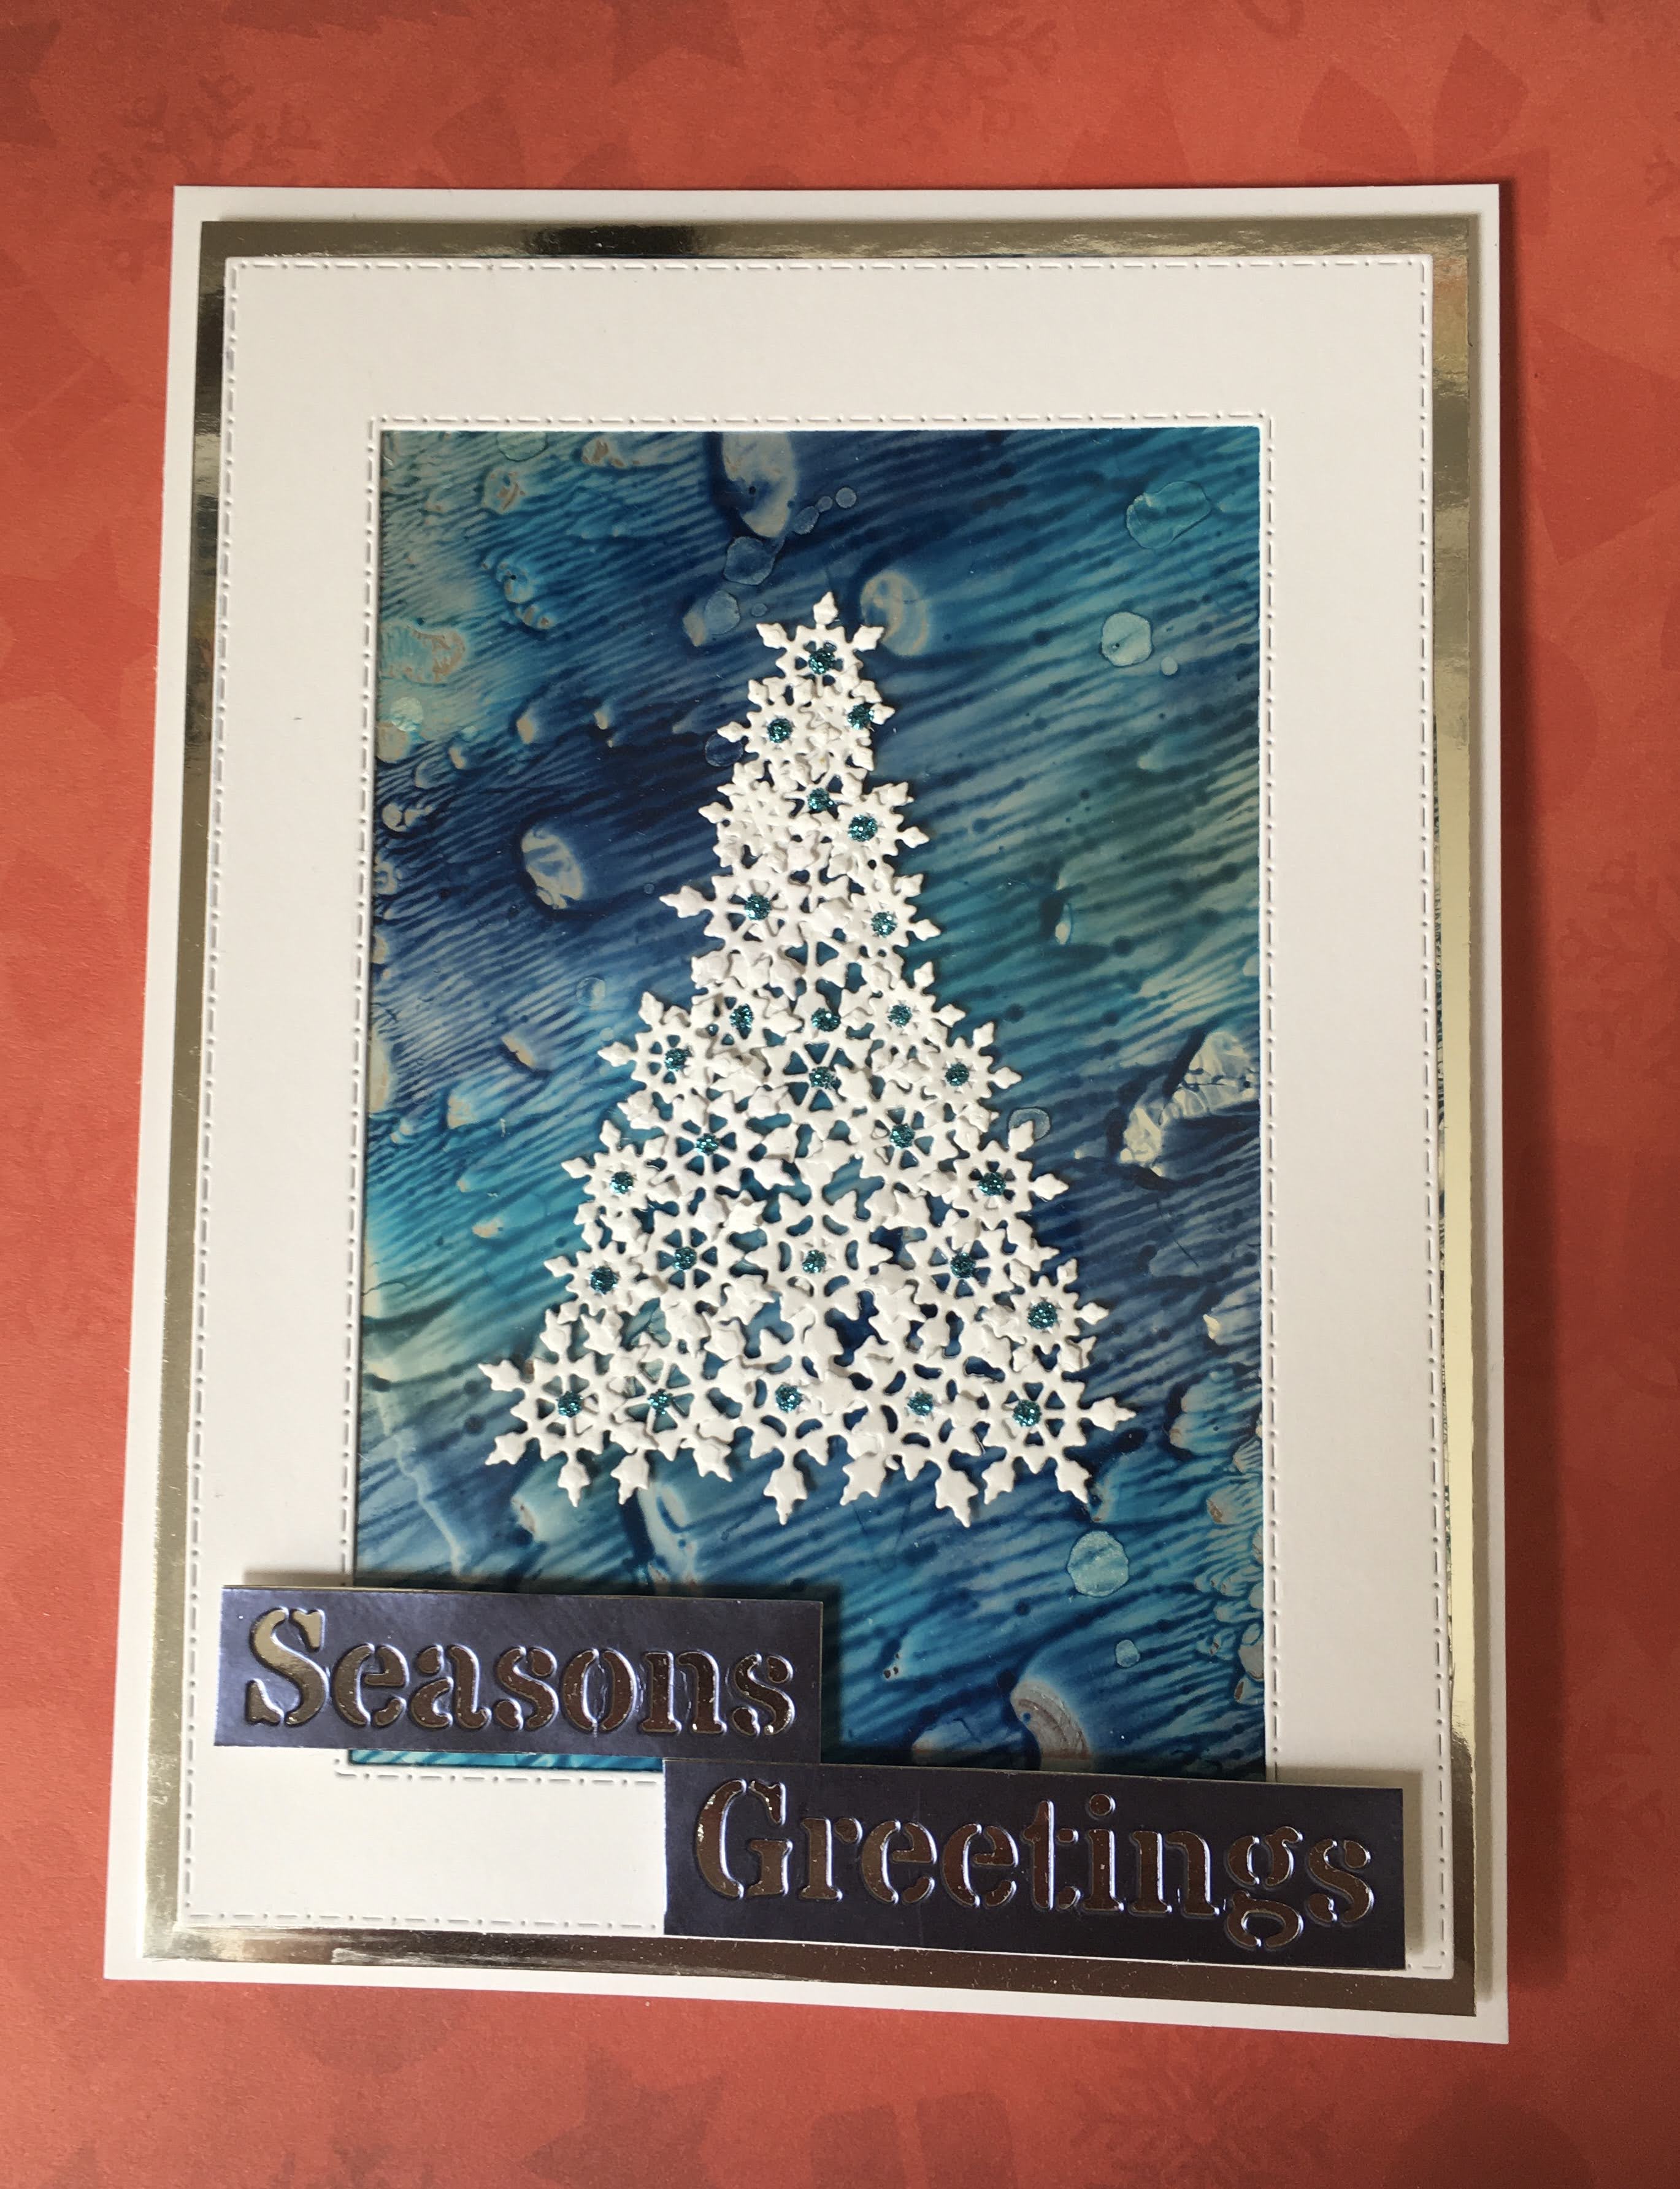
This first one is made using acetate. Take a piece of acetate and add blobs of Izink pigment inks they come in bottles either with a brush or a dropper. Then add another piece of acetate on top and wiggly around to make a pattern. This makes a beautiful background which I have used on several cards. I then die cut snowflakes to make a Christmas tree shape. I used one of John Next Door dies for this. The final addition is blue Stickles which match beautifully with the background.
I will be back with more ideas soon.

To start I die cut a circle and banner, in mountboard then wrapped the circle in coloured twine. From a piece of pattern card I did cut the JND Bee Balm flower die several times to make six or so flowers and a strip to cover the banner. Die cut the words from another JND sentiment die. Shaped the flowers and with the banner added to the wreath, finally some little buttons from my stash together with ribbon for a hanging and a tag for a message to finish off.

Some times I use rice papers, garden or coloured twine, or hessian and ribbon. For this one I used paper serviettes, ribbon, buttons and foam flowers and of course little string seed lights.
Just a bit different!!
So this card I made from the extras on the JND blooms and butterflies box kit.
I die cut the poppies in two directions just to add interest. Then I added the background which I made from a piece of acetate to which I added the Izink liquid ink, this is such fun to use. You need to make several sheets then let them dry. John had a you tube video on this.
Matted up and add a sentiment and you are done you may like to add flowers but I just wanted a clean and simple card.

So today I have been using stencils and foiling in a different way.
Firstly I took a stencil and drew around the inside of the stencil with ink pen.

The next step is to pass through the Kaleido foiling machine. The first picture is a very simple card.

Second card is with some doodling or zen tangling inside the petal shapes.

Next card I coloured after foiling with some metallic water colour paint.

And finally I discovered that after foiling once I could foil inside the first lot of foiling by painting the area with the magic medium.

Well pleased 😍😍😍